TOM'S GARDENING TIPS
Tom, the Community Garden Leader, offers gardening guidance personally,
as he is a constant presence in the Garden, and by email.
Tom’s advice, through the years on different topics, follows.
Understand that this website is incomplete.
More of Tom’s advice, in email, article, and newspaper column form, will be published soon.
as he is a constant presence in the Garden, and by email.
Tom’s advice, through the years on different topics, follows.
Understand that this website is incomplete.
More of Tom’s advice, in email, article, and newspaper column form, will be published soon.
|
JANUARY 1, 2022
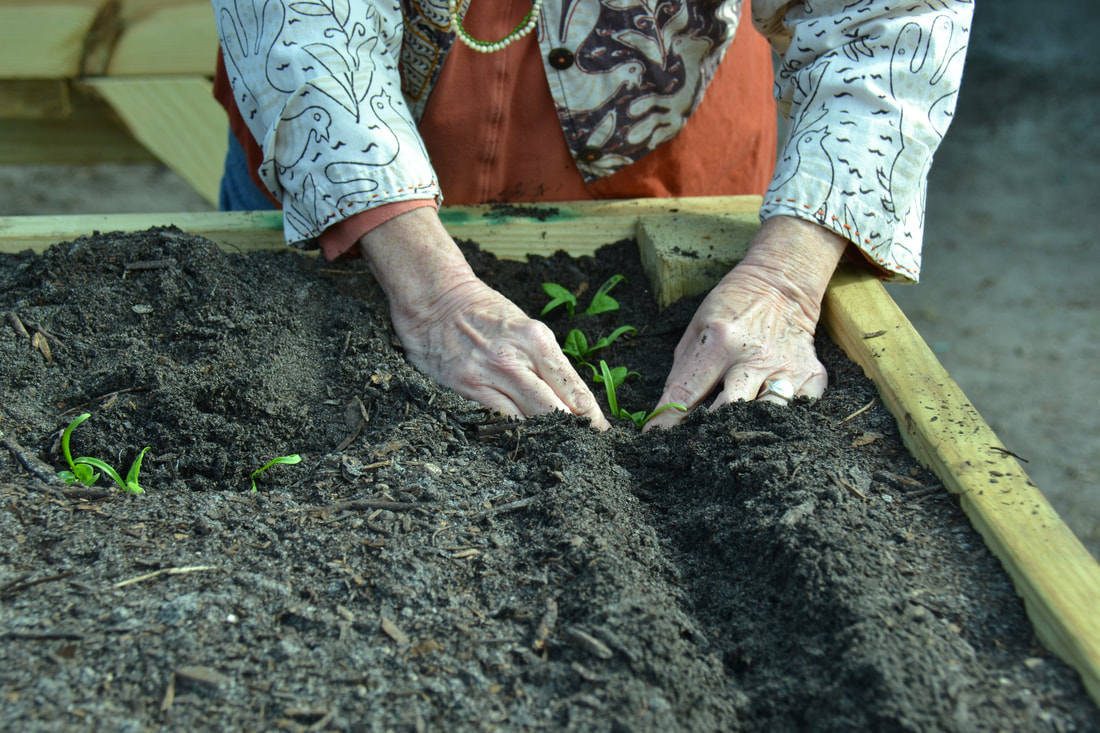
Good Morning, Fellow Gardeners. Happy New Year, all the best to everyone. The New Year’s gathering at the Garden, with some really good black eyed peas and a wide selection of cornbread, was very nice. Unusual to see so many Gardeners in the Garden, very enjoyable. The donation box was full. Please, continue to welcome visitors to our Garden, The transplant bed is fully planted, but the foggy weather has stalled seed growth. With sun in our forecast, that should change. The seeds need the sun to heat up the soil in order to germinate. There are some transplants in the communal bed that are ready now. There are 18" tall sunflowers, nasturtiums, and milk weed. So, if you have a little space in your bed, plant some flowers to add some color. The bib lettuce and spinach are about ready. The lettuce will form a head so you probably want to plant them about 6" apart. Fertilize where you plant them and then water with a fish emulsion solution. If it is sunny, provide transplants with some shade for 5 or 6 days to insure a good start. Stay well and have some fun. Tom 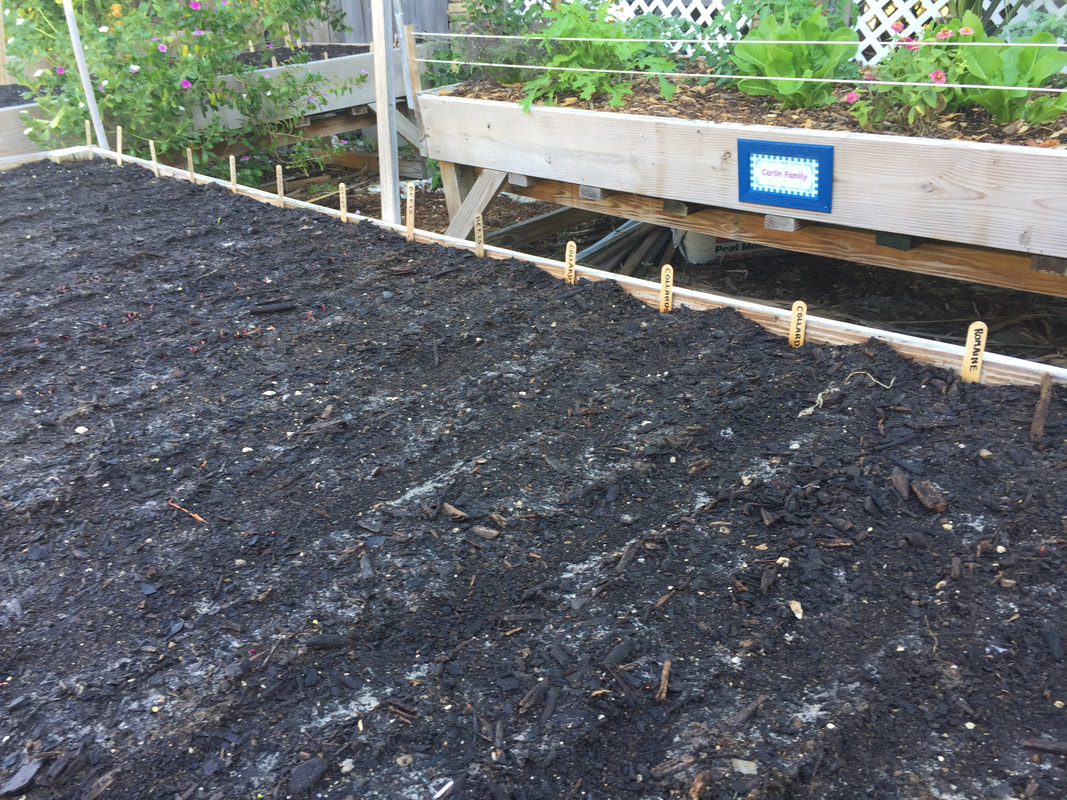
|
DECEMBER 17, 2021
Hello, Fellow Gardeners, The Garden is looking good, and the beds are really nice. Y'all get the atta boy and atta girl. The seed program is doing well. We are about to come into the busy winter season, lots of visitors walking through the Garden. So, I ask that you do a few things when you are in the Garden. Greet the visitors, welcome them into our Garden. Make them feel at home. Mention the free seeds at the front of the Garden. Mention the communal transplant bed. Communal transplant beds are very rare in Community Gardens, but ours sure does make it convenient for us. If you see people that seem interested in the way the beds are built, point out the sign at the front of the Garden that has our website. The website has a set of plans for building this type of garden bed, along with gardening tips, history, mission statement, etc. These folks get inspired and want to replicate a bed at their houses. These folks will be bending down to see what is on the bottom of the bed, putting their hands under the bed, about everything but standing on their heads. Or the wife is saying "I sure would like one of these at home." Tourists love to engage with locals, and they always mention how friendly everyone is in Cedar Key. I look at it that the tourists are the entertainment, and they are all here to have some fun. Currently, the transplant bed has some lettuce, milk weed, 18-inch-tall sunflowers, and nasturtiums. Help yourself. It has just about all been replanted. All the best, Tom |
|
OCTOBER 30
Hey Everyone,
For those that have been away, welcome home. For those members that have gardened through the summer nice work. You folks are tough.
Should mention a few things. There are some beds that could greatly benefit by having some more compost put in them. If there is a lot of the board frame showing best to add compost. At the back of the garden is a trailer with a blue tarp covering the compost. It is there for you to use in your beds. Best to add the compost before you start to plant. If you have already started to plant, then it is time for plan B.
Some transplant will be ready to lift in a few days with more varieties coming on. Right now there is kale, beets, arugula and some spinach. With the sun still very strong it would be best the provide shade to the transplant when you plant them. Also, under the communal bed there are containers that have seed that you are welcome to use.
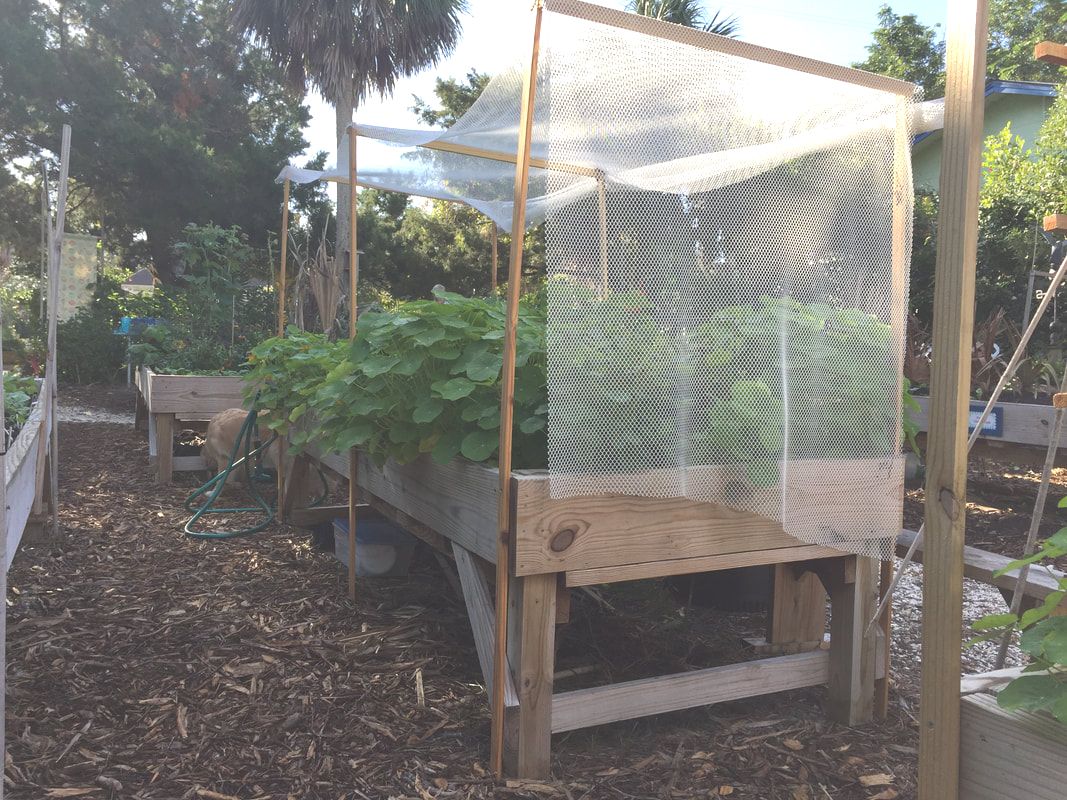
We never set parameters for shade devices and trellises so thought that it would be best to do that now. Shade devices can be approximately 4 feet tall and no wider than your bed, 4 feet. A trellis to grow plants on can be 5 feet tall. It is a good space saver if done properly. Use material that will allow the sun through. A couple of 2x2 post with some string strung in between works well.The point of these guidelines is to avoid you constructing something that might negatively effect your neighbor like casting too much shade on the adjacent bed. Thank you for cooperating with these guidelines.
Well it is time to have a couple of work days, in the garden, to do the Fall maintenance. The first work event will be on November 7th at 9:00. You will be notified when the second day is scheduled. No more than 4 hours with a range of projects from easy to harder so that there is something that everyone can accomplish. Bring work gloves, clippers and lopers and anything else that you think you might need and of course, bring your smiles. There will be some food and drinks.
I look forward to a productive gardening season with you and I also look forward to seeing all of you, in our little garden.
Tom
Hey Everyone,
For those that have been away, welcome home. For those members that have gardened through the summer nice work. You folks are tough.
Should mention a few things. There are some beds that could greatly benefit by having some more compost put in them. If there is a lot of the board frame showing best to add compost. At the back of the garden is a trailer with a blue tarp covering the compost. It is there for you to use in your beds. Best to add the compost before you start to plant. If you have already started to plant, then it is time for plan B.
Some transplant will be ready to lift in a few days with more varieties coming on. Right now there is kale, beets, arugula and some spinach. With the sun still very strong it would be best the provide shade to the transplant when you plant them. Also, under the communal bed there are containers that have seed that you are welcome to use.
We never set parameters for shade devices and trellises so thought that it would be best to do that now. Shade devices can be approximately 4 feet tall and no wider than your bed, 4 feet. A trellis to grow plants on can be 5 feet tall. It is a good space saver if done properly. Use material that will allow the sun through. A couple of 2x2 post with some string strung in between works well.The point of these guidelines is to avoid you constructing something that might negatively effect your neighbor like casting too much shade on the adjacent bed. Thank you for cooperating with these guidelines.
Well it is time to have a couple of work days, in the garden, to do the Fall maintenance. The first work event will be on November 7th at 9:00. You will be notified when the second day is scheduled. No more than 4 hours with a range of projects from easy to harder so that there is something that everyone can accomplish. Bring work gloves, clippers and lopers and anything else that you think you might need and of course, bring your smiles. There will be some food and drinks.
I look forward to a productive gardening season with you and I also look forward to seeing all of you, in our little garden.
Tom
WEEDS
2018 October
Weeds are an ongoing challenge to any gardener. We have been lucky that the compost that we have been using, in the Cedar Key Community Garden, has been very good quality. It contains lots of organic matter and contained a very small amount of weed seed. But you only have to miss removing a few weeds and the weed population increases a lot. This is where good garden hygiene comes into play. Ideally you would remove the unwanted weeds before they flower and produce seed. So what do you do if there are weeds in your bed that did flower and produce seed.
Cultivation, disturbing the top layer of soil, becomes the way to control weeds, in your bed. Before you plant anything, seeds or transplants, you should let the weed seed germinate and then cultivate to stop the weed from growing. Fertilize your plot, work it into the soil, water your garden and let it sit until you get a flush of weeds germinating. It should not take long. Once the weeds are an 1/8 to 1/4 of an inch tall, lightly cultivate to knock those weeds back. In this case, lightly means to just work the top inch or two of soil, this way you do not pull up deeper seeds to the top of your garden soil. The weed seed that is deeper will be too deep to germinate and grow.You can use a small hand cultivator to do this or with our light soil, your hands will work fine. The smaller that the weeds are, when you cultivate, the easier it is to eradicate them. You can repeat the process if you are so inclined or if you still have a really lot of weeds coming up.
Once you plant your seed or transplants continue to cultivate between your rows. Cultivating is much quicker and easier than pulling weeds by hand so stay on it. Once the vegetables or flowers get bigger, less cultivating is required since you will have already taken out many of the weeds and your vegetables will start to shade out the soil. You can also mulch between your rows to control weeds and also to retain moisture in your soils.
So cultivate early and often, the smaller the weeds the easier it is to get rid of them.
Tom